
There are quite a few e-signature apps in the marketplace that you may install on your tablet (i.e. DocSign and SignNow) The instructions below are utilizing the DocuSign app.
To send an e-signature document from the Sales Builder Pro app using DocuSign follow these steps:
1) On the Signature tab, the salesperson should always sign the quote in the company approval box and email the quote to the customer as you normally would.
2) After sending the Sales Builder Pro email, tap the Action button. Select "Copy to DocuSign" from the app menu. Note sometimes the DocuSign app will appear in More ...


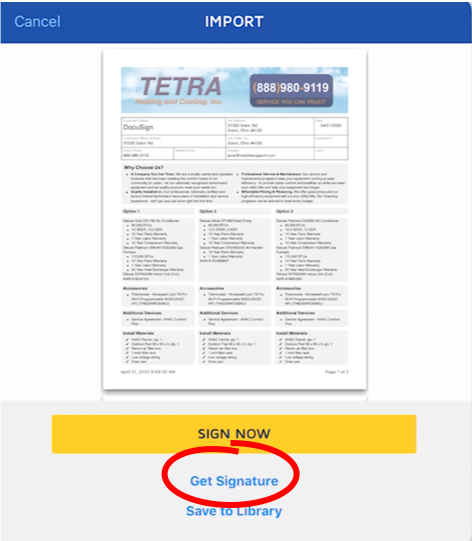
3) Select Get Signature
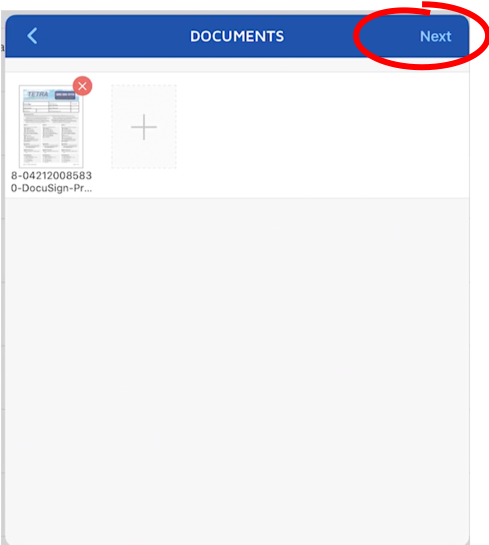
3) Tap Next.
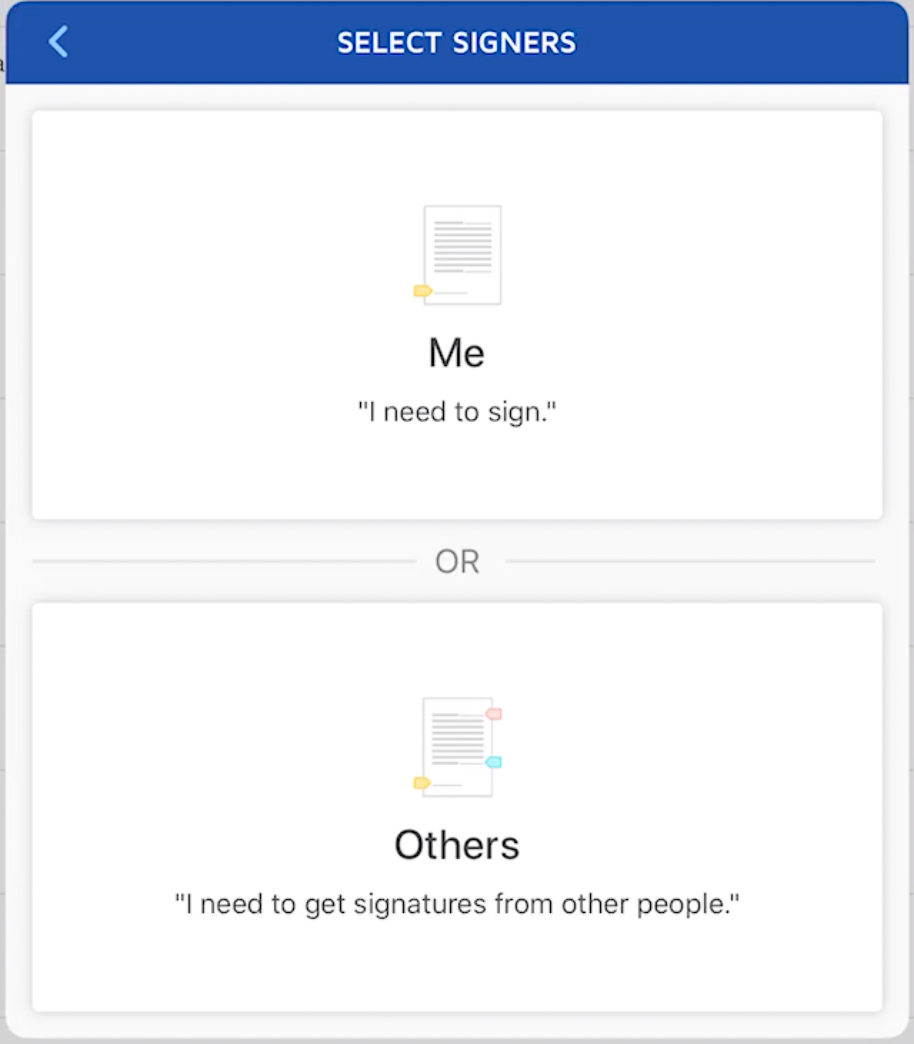
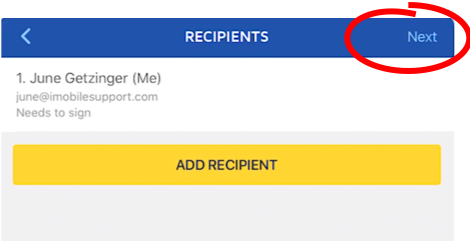
4) Select signers. Select Others, enter the name and email address of your recipient. Then, select their Role. Select Needs to sign and Save to add your recipient. You can add multiple recipients.

5) When finished adding recipients, tap NEXT to tag the document. Add fields for each recipient.
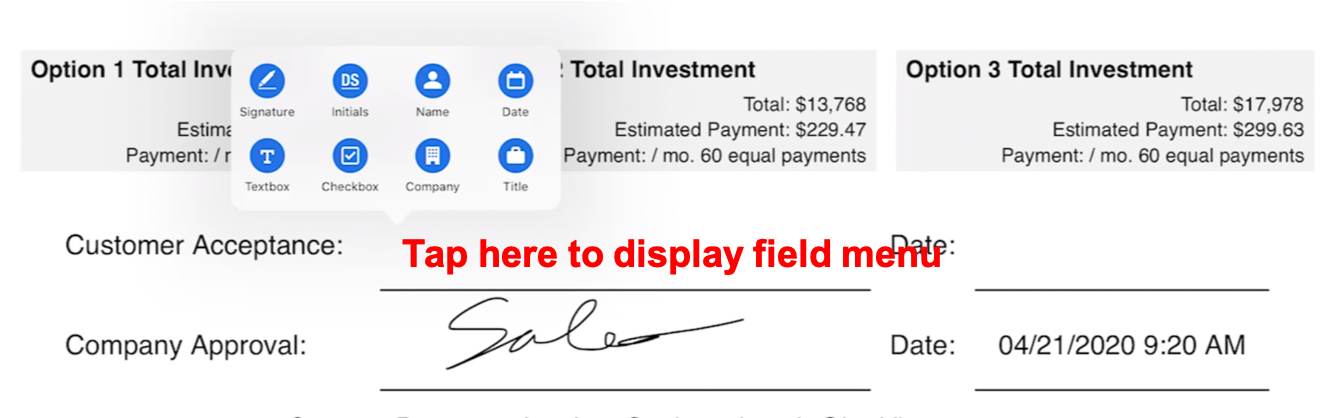
6) Tap anywhere in the document to place signature and date fields in the document.

7) Tap the desired location for the tag to populate the list of available tags. Tap on the desired tag type to place it on the document. Once the tag is placed, you can adjust the tag position, resize the tag, or delete tags individually.
8) Tap Next

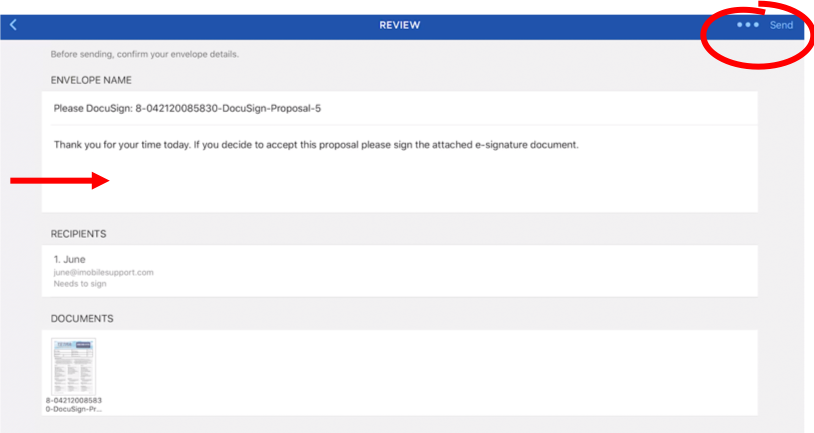
9) Enter a message and tap Send.
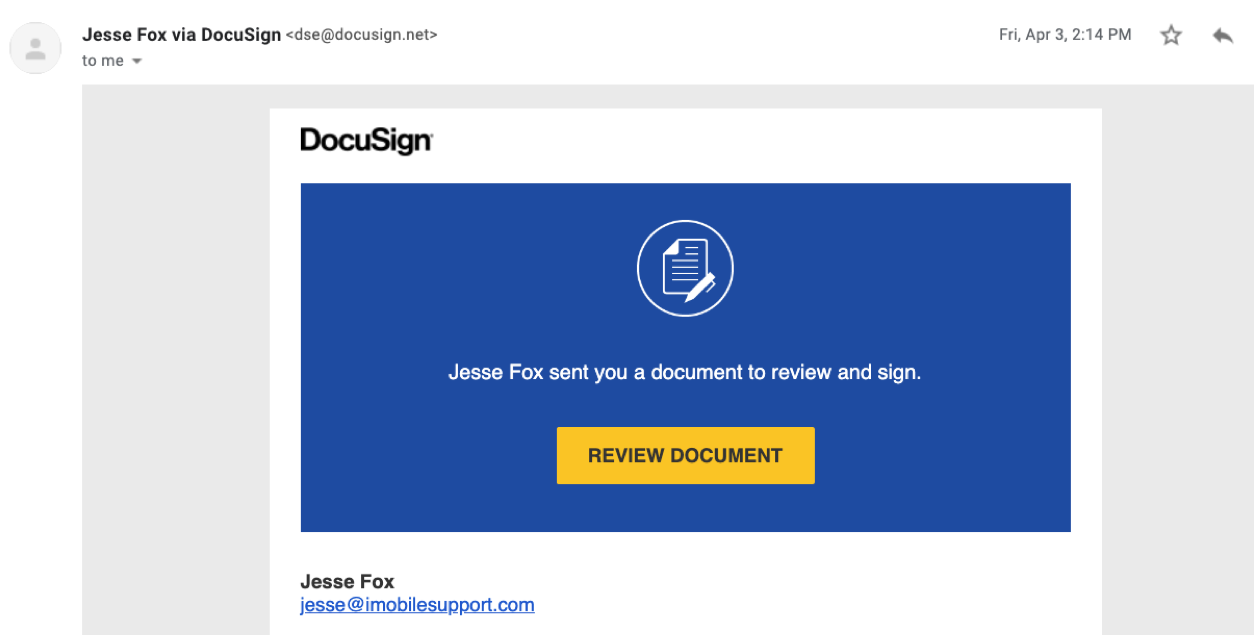
10) Customer will receive an email with instructions to review and sign the document from DocuSign.
11) You will receive email alerts when the customer views the document and/or signs the document.
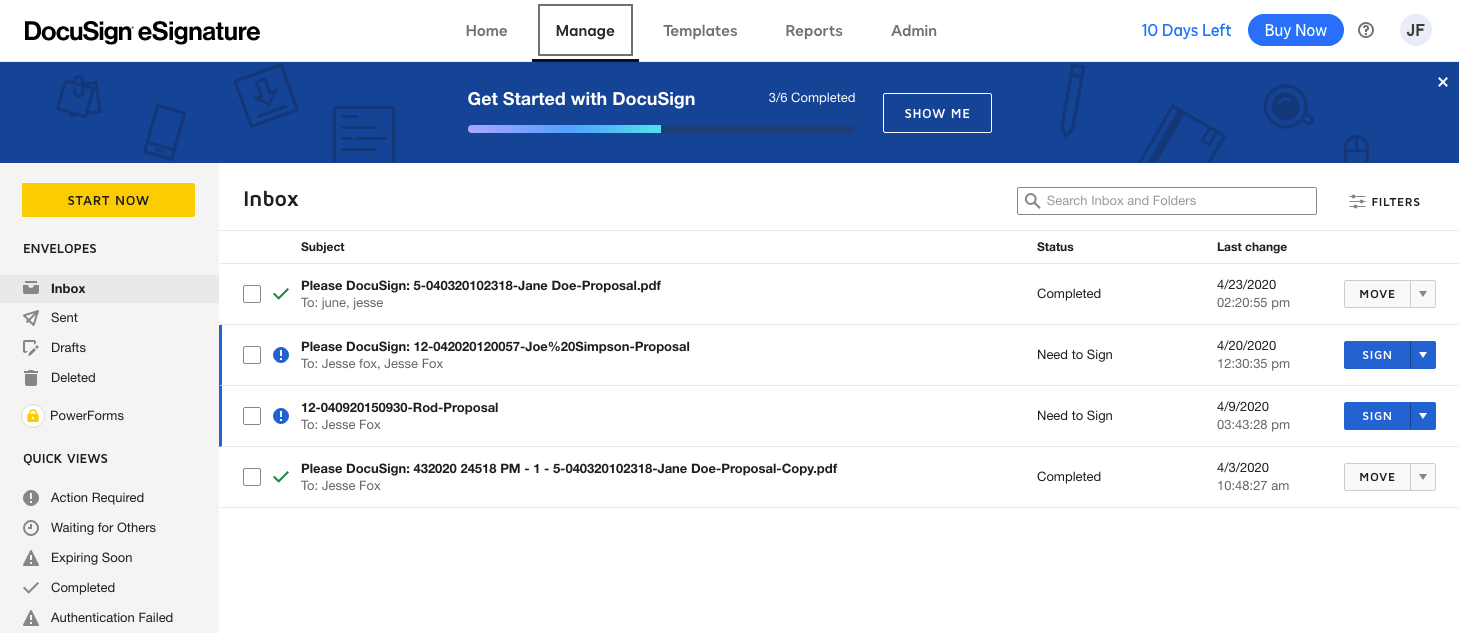
12) Your DocuSign online account gives you full visibility of the status of quotes you have sent via DocuSign
13) Office administrators with access to the Sales Builder Pro Management Portal and DocuSign can also send quotes out to customers to collect an e-signature. The DocuSign software works on tablets and desktops. To learn more about DocuSign visit https://app.docusign.com/home.
Comments
0 comments
Please sign in to leave a comment.